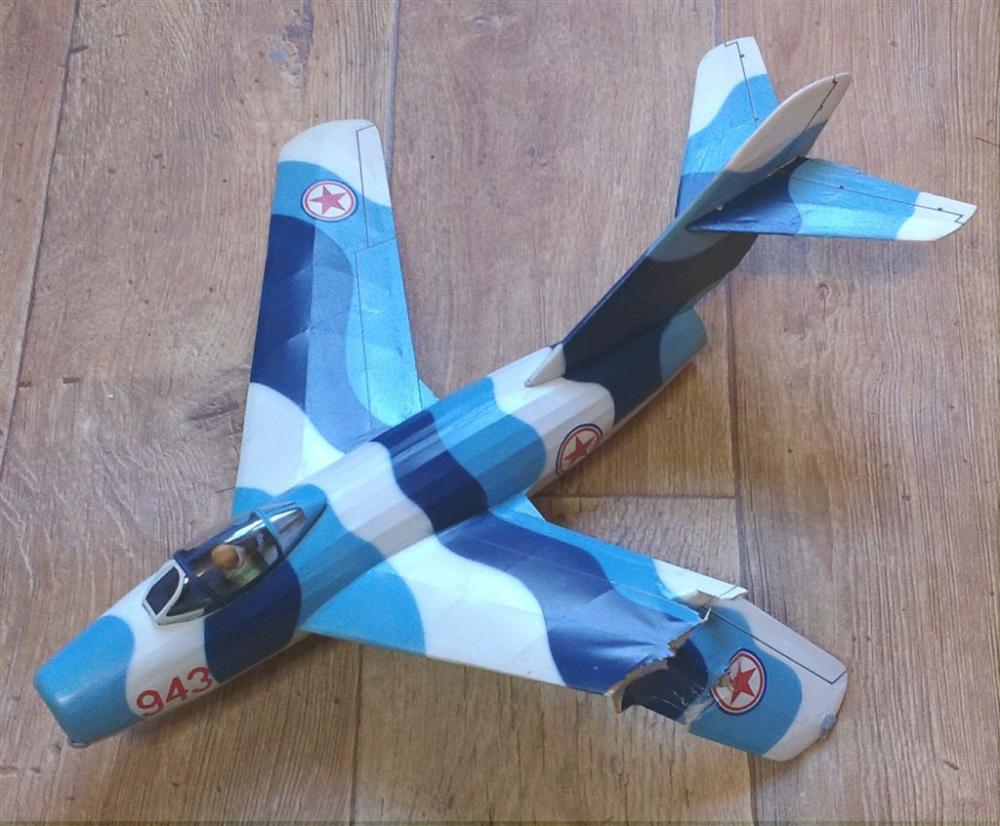
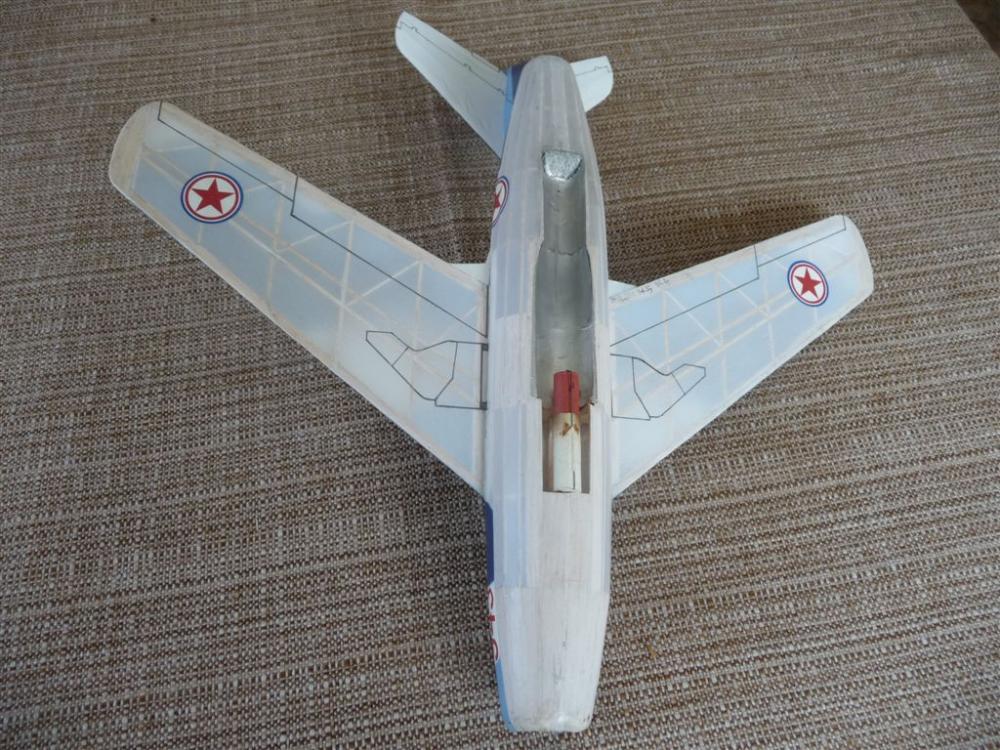
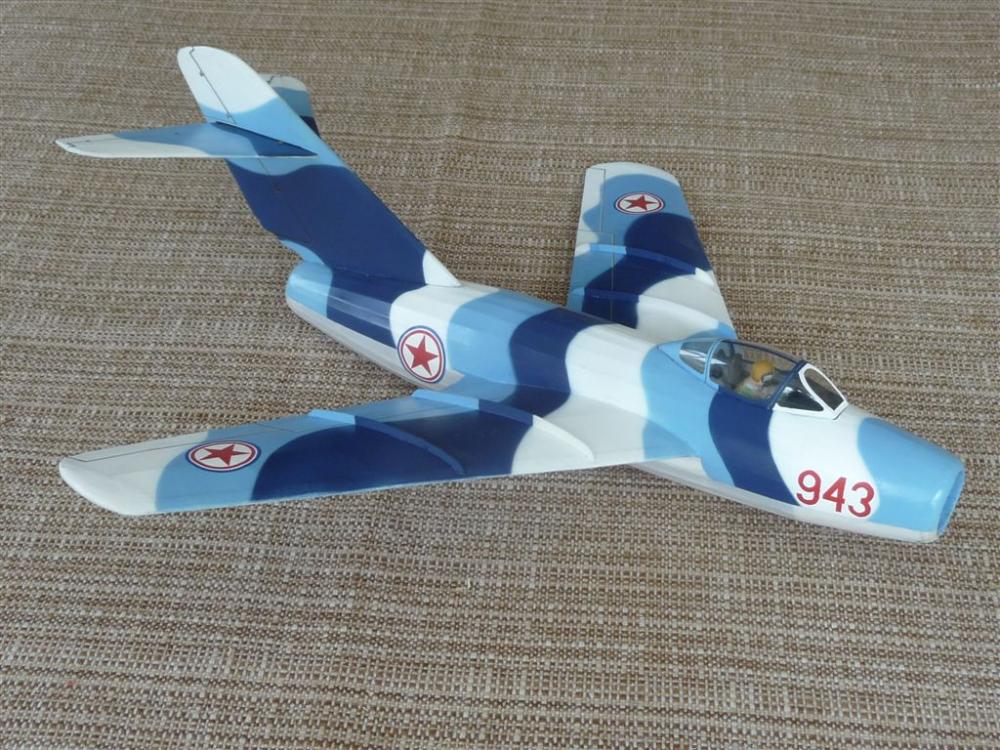
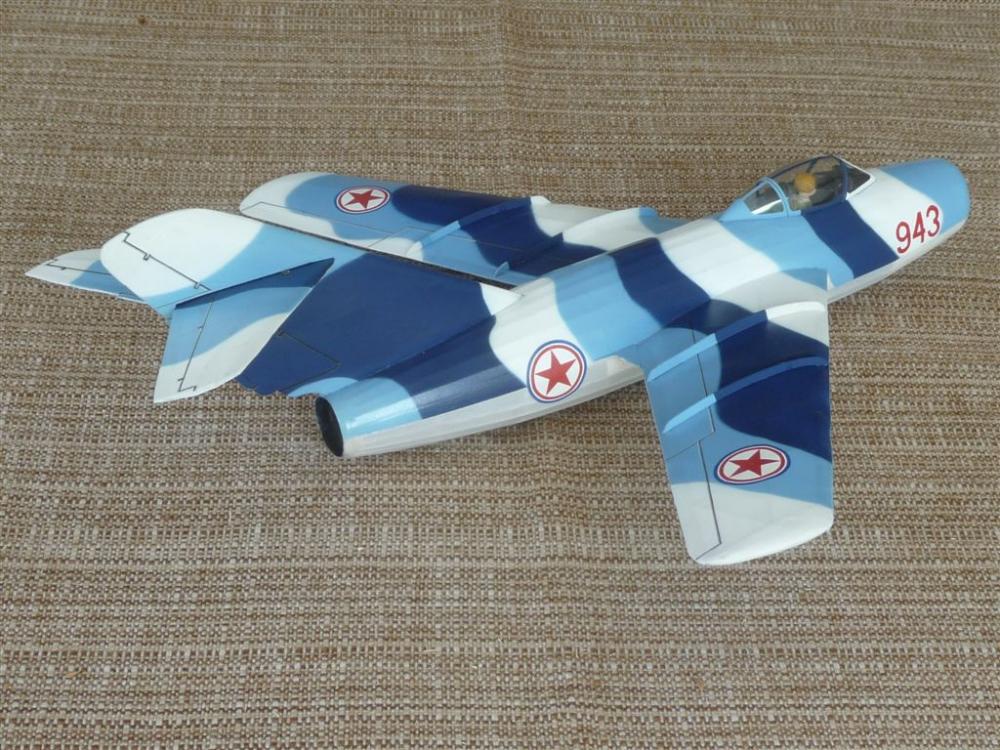
It was good to see Howard's new F-4 Phantom and refurbished MiG 15 flying reports posted on the forum 'Flying' thread.

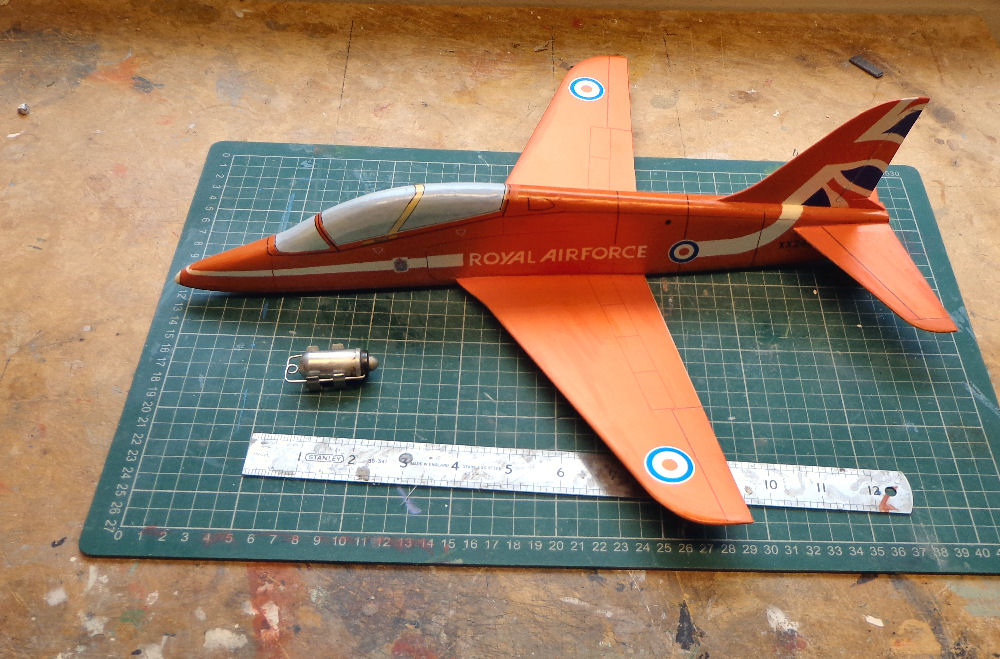
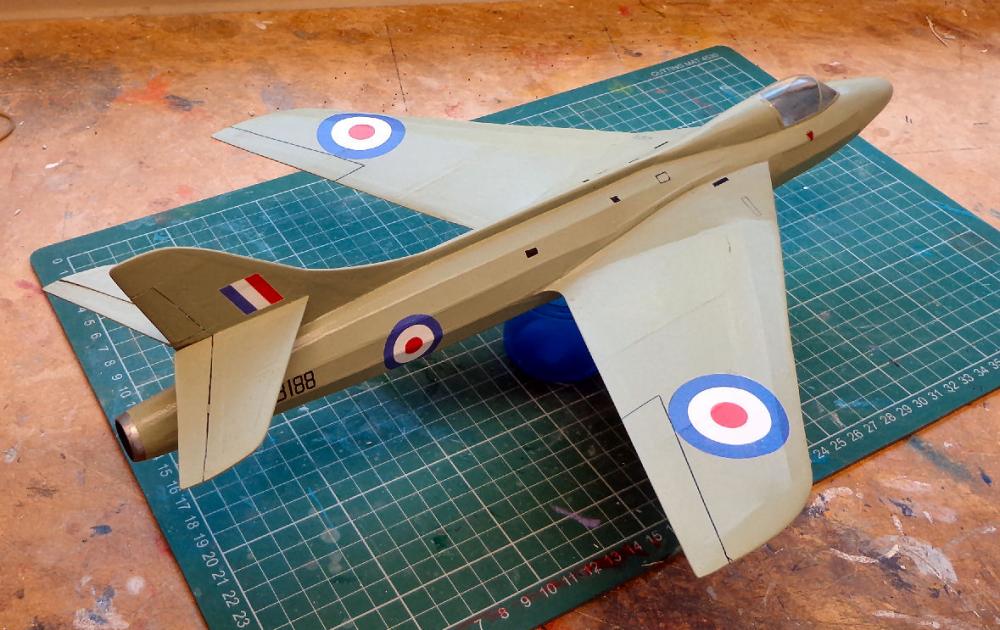
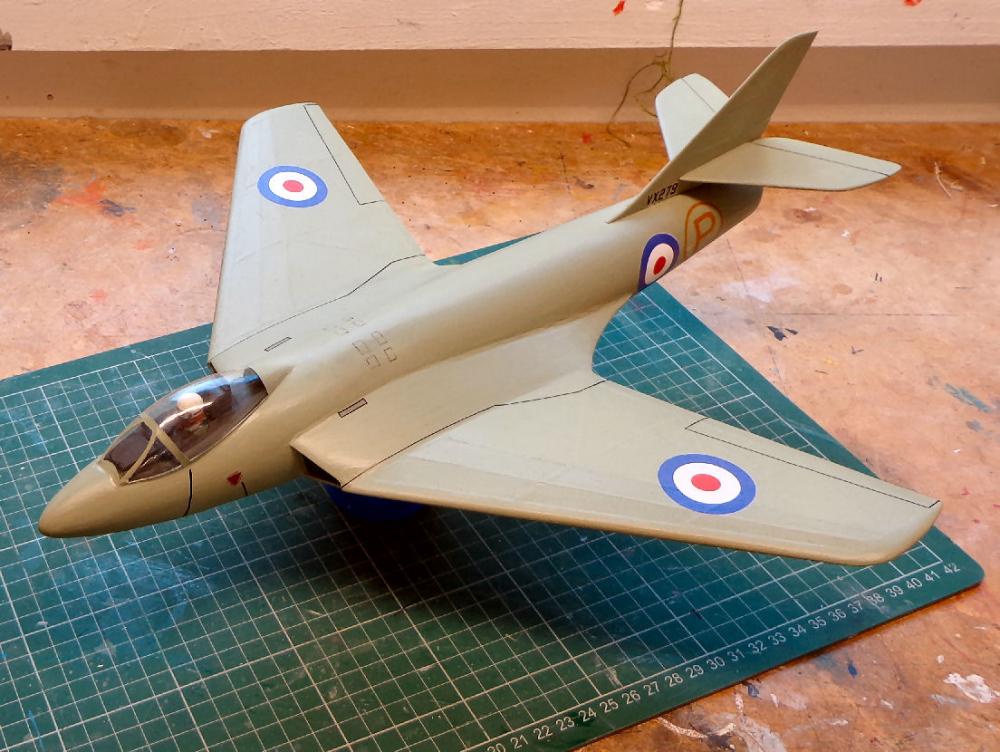
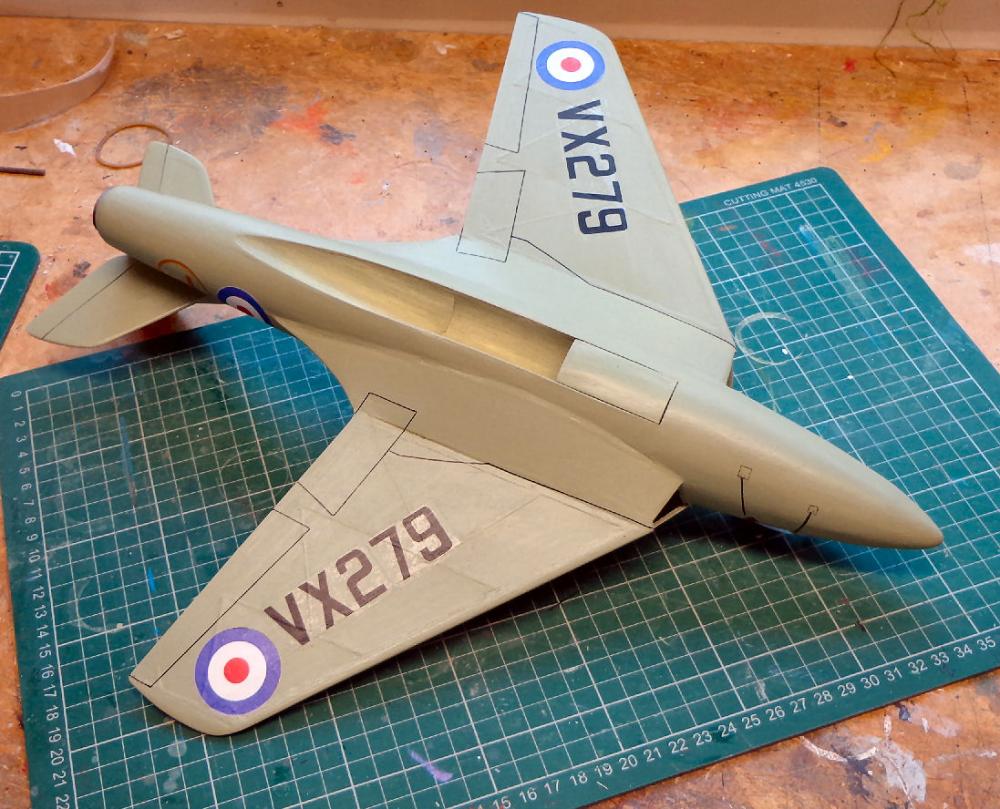
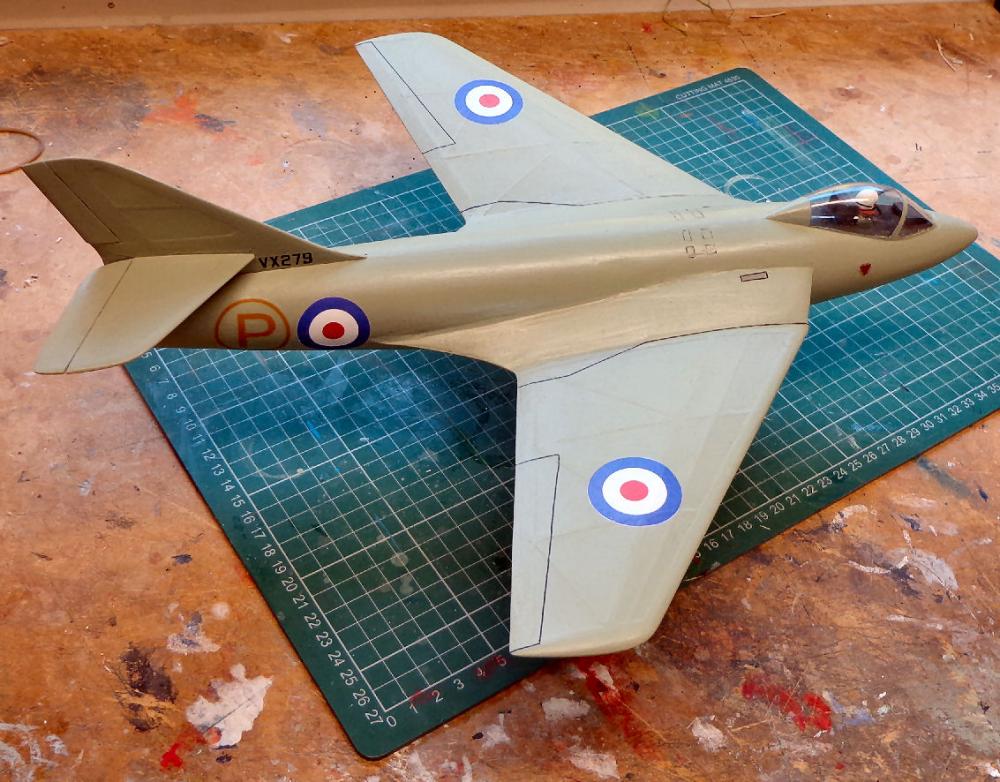
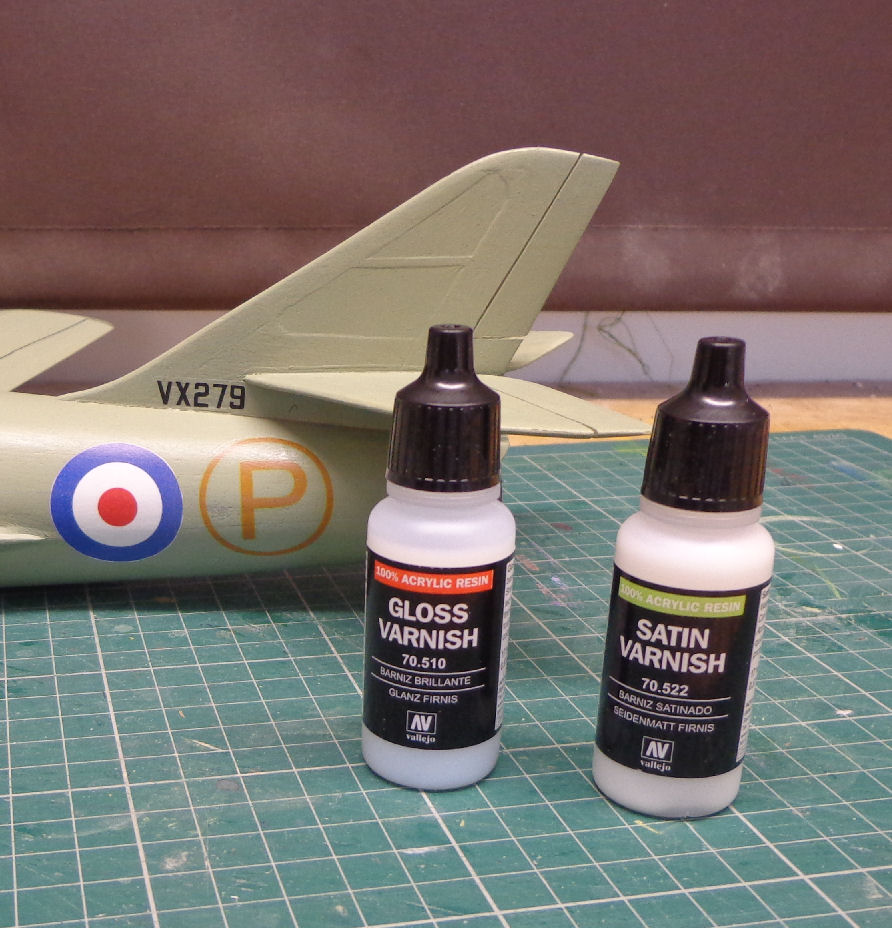
By now I really should have finished and test flown my Hawker P.1081. But though it, and the Hunter are ready to spray:
this I have not done

No excuse really, except things have been busy at Jetex Towers and Jetex Jim is feeling his age. But I really don't like spraying, and I spent like forever trying to sort out the decals - getting the sizes correct and the correct lettering etc.
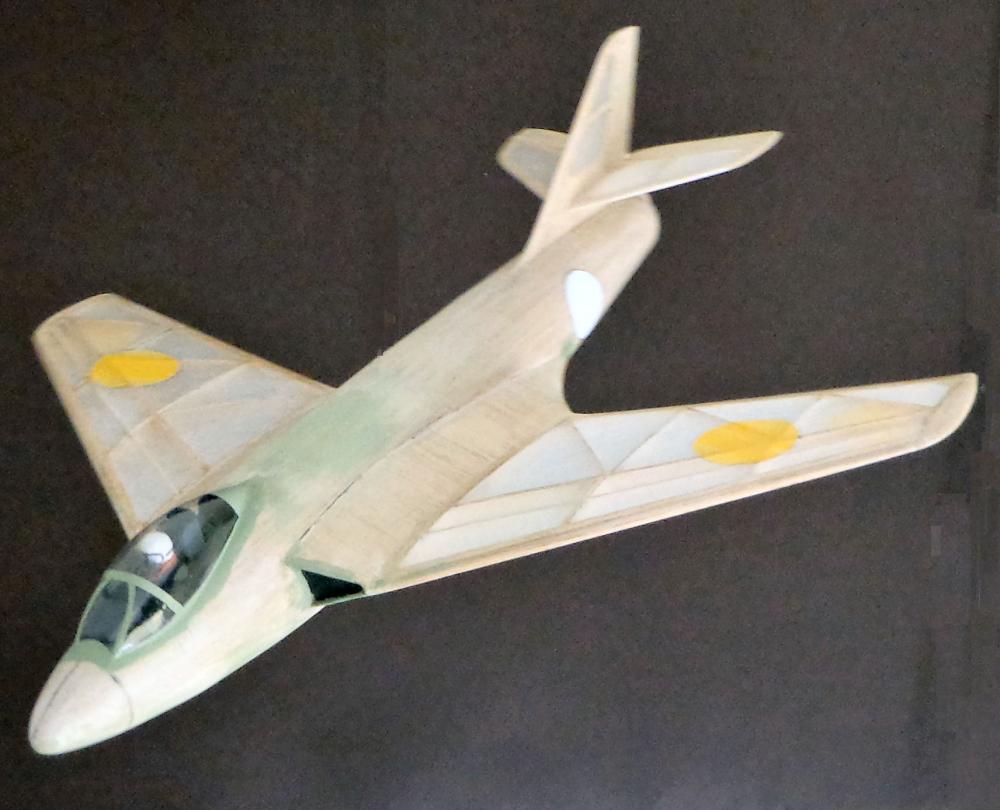
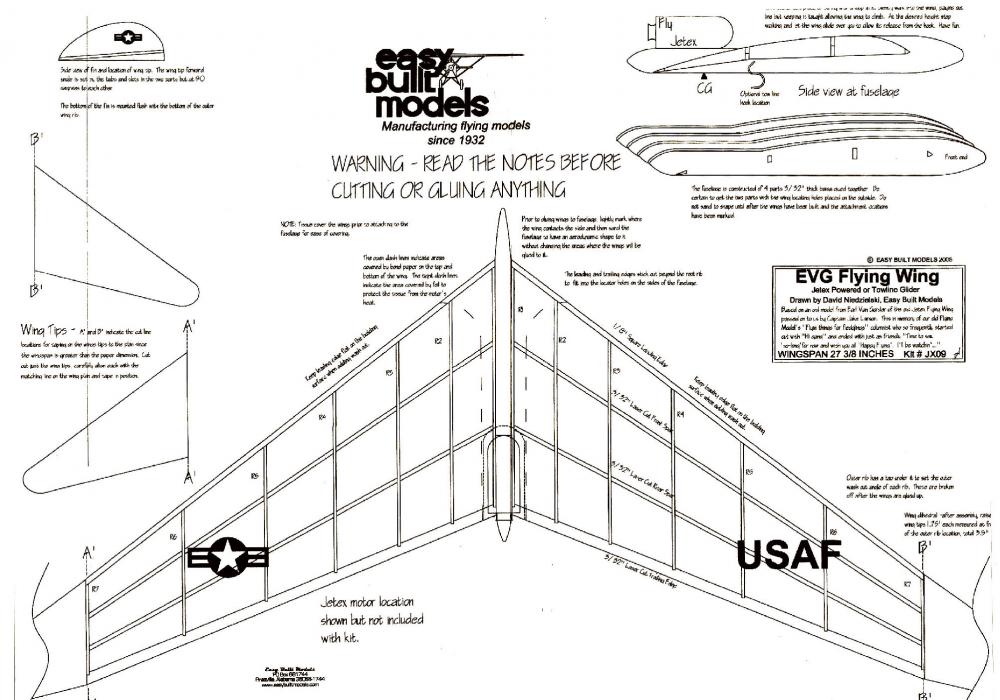
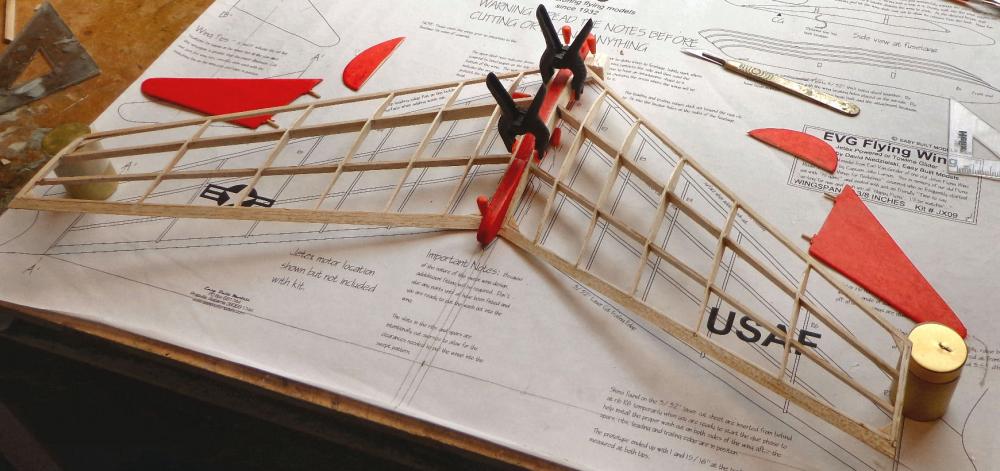
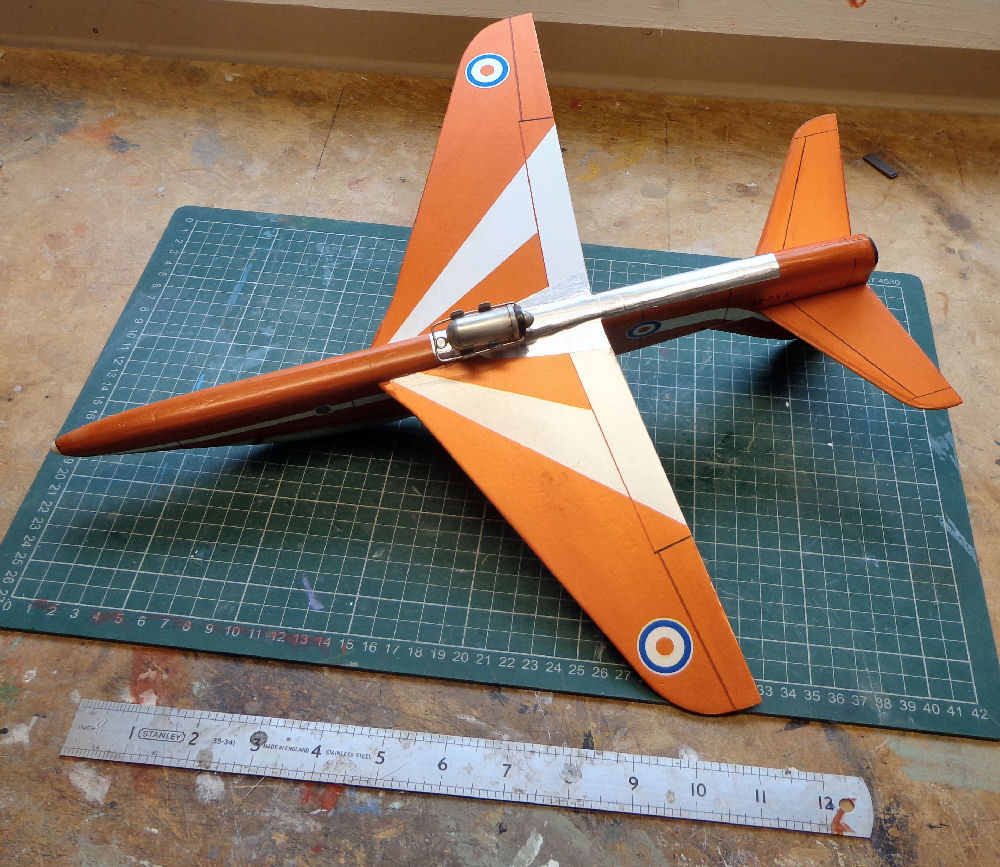
So, rather pusillanimously, I decided to make something less stressful - a Jetex Flying Wing to replace the one burnt out st Old Warden last year. I thought this would be an easy task as I had 'won' an EVG Flying Wing some time ago on eBay. This 'Easy Built' 'take' on the original 1951 Wilmot Mansour design came with laser cut parts, a CAD plan and a rather more practical building method:
The original WM FW was built on a jig 'up in the air' -- not easy and as the slotted wing spars were none too accurate little asymmetrical warps could too easily creep in. This may explain the problems some folk have had trimming this model.

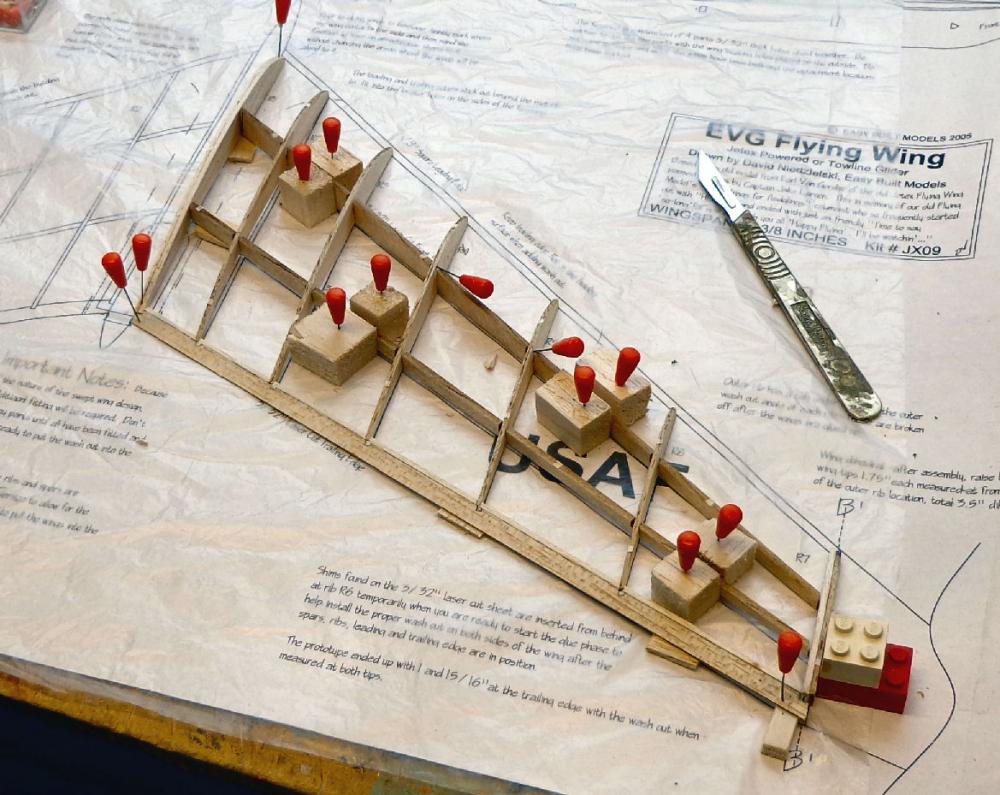
In contrast, the wings of the EVG version are built flat on the building board with 3/16" washout built in (the tip ribs come with tabs - clever!).
Even so, care must be taken to keep things square- note the small balsa blocks to line-up the spars.
The spars' oversized slots have to be 'filled in' after gluing in the rips (like the riginal) --I used a lightweight filler which worked well (what did the use ih 1951 - little bits of balsa? Very fiddly!).

Note I added a harder 1/16" strip to the leading edge, soft 1/16" strip to the trailing edge to take the ribs (slotting a trailing edge weakens it badly, very bad practice) and triangular strengthening gussets at the root and tip. Not in the plan, but old habits die hard.

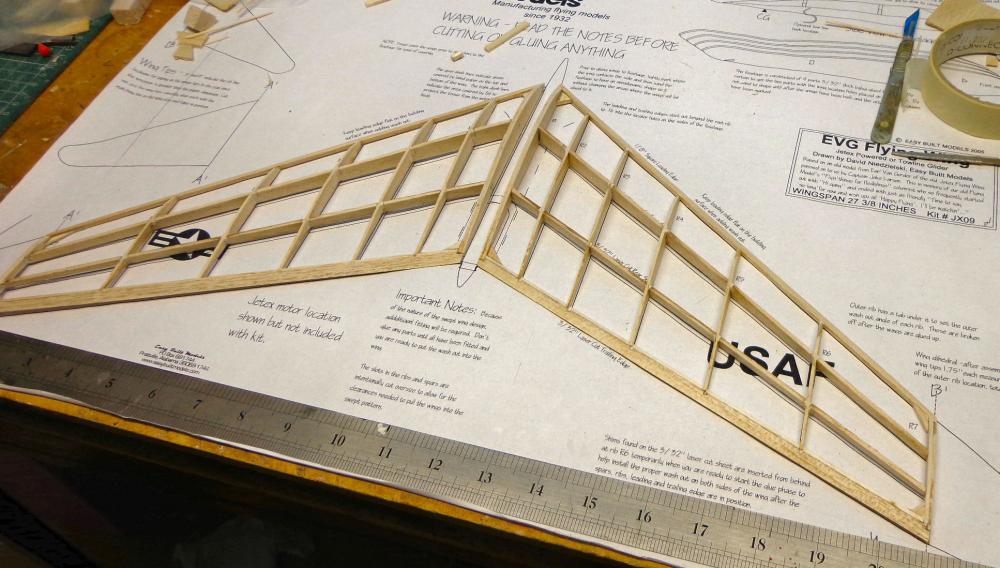
I also added 1/16" to the root ribs so that the dihedral angle could be sanded in. This done, the wings were glued to the 'fuselage' making sure the dihedral was correct (note the tips are supported) making sure everything was square:
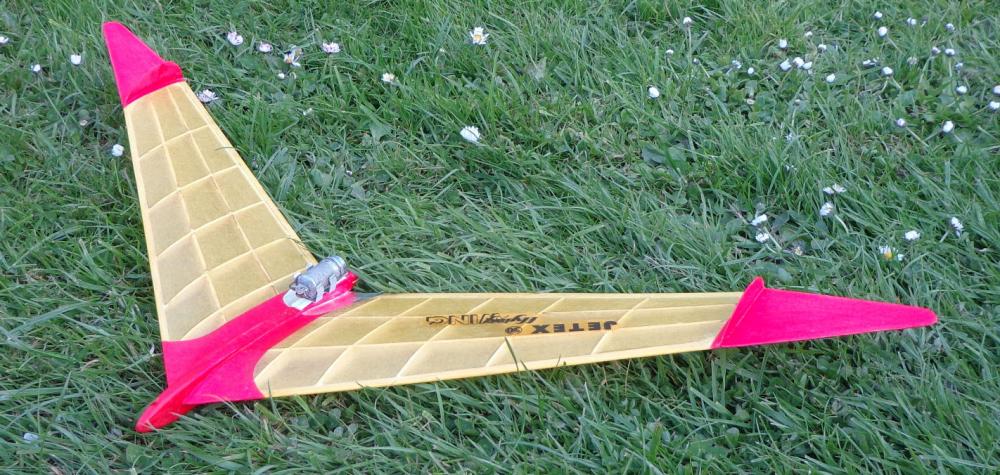
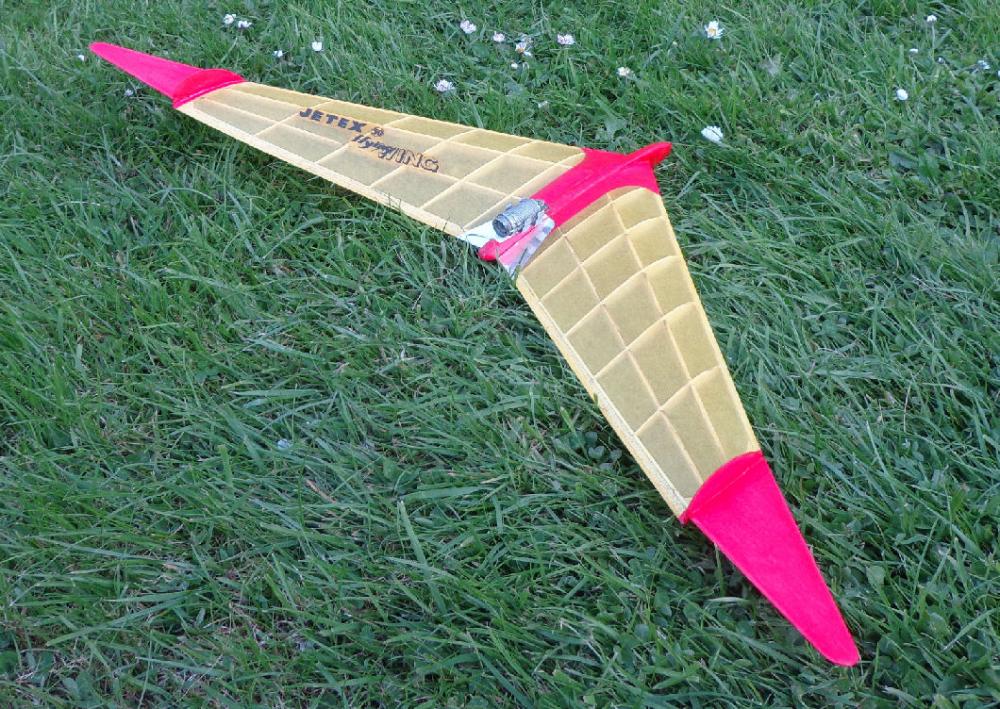
I covered the model with wet lightweight Modelspan, gluing the tissue with dilute PVA glue to the undercambered ribs.
The fins and wing tips were covered before assembly. After three coats of 50/50 non-shrink dope/thinners (I didn't want the wings to warp and lose that carefully built in washout) it all went together well. I added some asbestos sheet under the Jetex 50 motor clip and 2g lead to the nose and cleaned up everything. So here it is, ready to test fly:
Will my careful building pay off? Will it glide 'off the board' or will I have to reset the wing tips to compensate for ... whatever - an all too common experience of Flying Wing builders?
We shall see